Hello
charlie.


It is a rather fun activity and this blog is addressed to you! yes you! You the person on the other side of the screen who’s tired of doing those pumpkins every year, maybe to the point where you let go of the activity!
So I’d like
to walk you through how I go with my carvings. So you could step up your
pumpkin game if you’d like!
Just a head’s
up there are 3 main problems with this art form,
1 it’s
temporary your creation won’t last 2 days at best. Fragile parts will fall apart,
the warmth of the candle will have burnt through the interior, and most
importantly it’ll rot and smell terribly.
2 it takes
a while to make, generally an afternoon for the ones that I do (maybe plan a nice podcast or a spooky playlist),. And it is messy. Very very very messy. so wrap your head around the fact that you will have to do a fair
bit of clean-up later for all of the pumpkin you’ll have put on the floor and
table.
3 the
tools, I’d suggest you buy a set of woodwork tool sets like I have myself, it
is rather cheap (i got mine for I think like 8 to 12€ at Carrefour) and it will last all your life and most probably will outlive
you. And if you don’t have those good luck with your knife and your raw skills.
Now that’s
done: First when you start out, you need to have an idea of what you want to
do. It can be anything, and I like to run wild myself. And to choose what you
want, look at what you want if it has been done as a pumpkin, this can give you
some ideas on how to do it.
So, find a
design that suits you, and if you can’t get a clear picture of what you will do
try to sketch it. If you want to prepare imagine this if you will:
you have 3
colors to work out of black when you leave the ‘skin’ on,
bright
yellow for when you make a complete hole,
and then a
variation of colors ranging from reddish orange, to orange and then yellowish
orange based on how much you remove matter when you have peeled off the skin.
So you can
try to do your design of what you want to do in a 3 color sketch, doesn’t have
to be precise, you just should know what you’re going to do before jumping in.

Golden rule when sketching: REMEMBER THAT GRAVITY EXISTS! You will not be able to cheat it. Think of how
your design is going to hold up, so no part should be floating in the air, or at least. Maybe think of a pole like system where there's enough material so your creation can be held up in the air by the rest of the pumpkin (like my little fish friend or this old guy)
Only once you have your idea figured out, you should buy the pumpkin, because you
don’t know if you’ll need something a specific type of size of pumpkin. (for example if you buy 2 giant pumpkin but in the end you chose one big boy and a little one... well the illusion won't be as good)
Now that the preparation before carving is done. IT'S TIME TO GET MESSY

ALSO, don’t
feel pressured when you take this FELT pen, some water and a tissue will erase it in
one easy swipe and it won’t leave any mark on your pumpkin. And it will inevitably be
erased by you touching your pumpkin or the pumpkin’s flesh humidifying its
surface once you started ripping piece of it off (plants bleed too). The lesson to take from this is that you will have to redraw it, so don’t feel like you have to draw a masterpiece on
it.

I you want to know which tool is for what, the ones with the straight blades are made to take out the chunks so you have an open window to the interior of your pumpkin. Then the other ones it’s to remove the skin or to shave off flesh.
Then you go ahead and carve my little Michelangelos
You can choose to go in whatever order you want. maybe first emptying then cutting the chunks and
finishing with peeling, mix it up in whatever way you want, you cn decide to go area by area and mixing all of the steps together changing from one to another. You Do You.
However, there are 2 things you need to keep in mind, you empty the pumpkin over a sink and only once you have done this you can carve the holes.
Personally, I like to outline by peeling bits of the skins so I will just have to follow them and not divert from the path, just like when you got to color something, to not draw over the lines. And so the
holes are more precise.
One rule
you have to remember, you will always be able to remove more, so don’t remove
big chunks in one go, don’t be afraid to cut less than what you thought of cutting. And
once you’ve cut a good bit, test it out (do that mostly for the peeling), go to a windowless room, close the door and see
if it’s okay (Try to go for toilets because it has already room for you to put
your creation on and just look at it). Generally, I like to just remove a bit
of the skin and then do multiple tests to see what hue looks the best, it’ll
take some matches, but you’ll have something beautiful. And as you’re testing
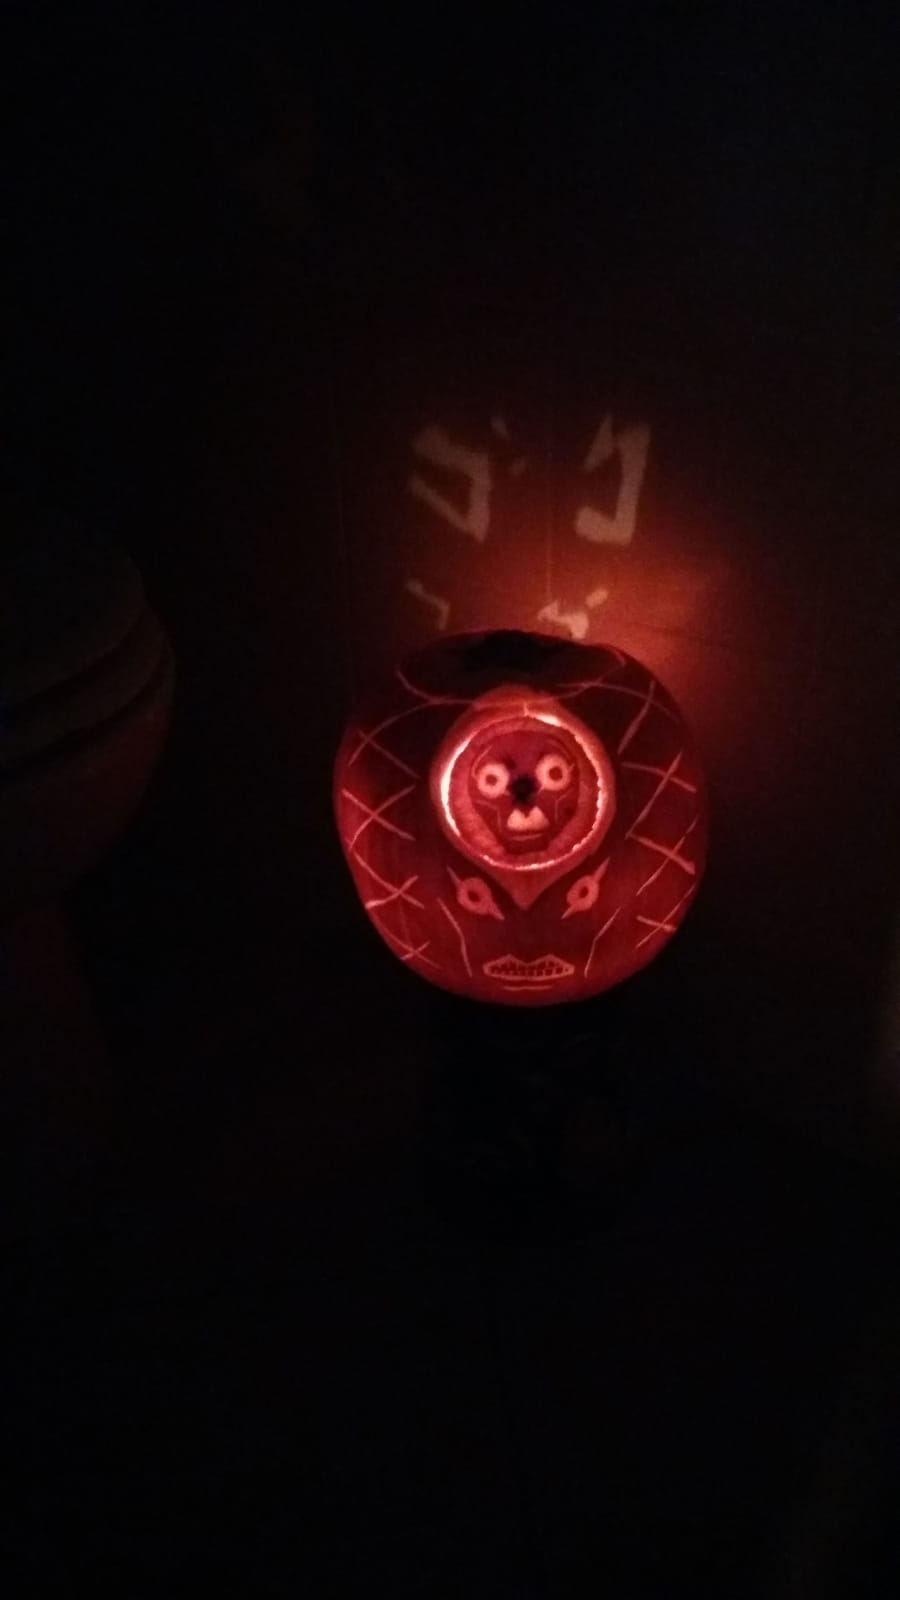
you can see some errors, like for my Alastor I saw that the little spikes he
has instead of pupils were way too thick so I managed to cut some of it down,
thinning it so it looked better in the final iteration.

 Details are important
To finish I'd like to have little trip through what I did that might give you some ideas:
Working with shadows behind is nice Two faces might be good if you don't but try to keep it small and simple. have enough material but it's still not the best.


So now you have all of my knowledge and maybe remember this post next spooktober and maybe have little more fun with your carving.
Have a good one !
I never carved a pumpkin , I'm weirdly reassured that there's spooky step by step instructions for doing so haha
ReplyDeleteBtw : you're really talented
I wish I could take pictures that are this cool and with such a good quality. And I don't want to copy Marwa by saying you're talented, I really mean it.
ReplyDeletewow, thank you so much for this article , it really game me some ideas for next Halloween ( can't wait for october to come hehe :)) ), because I usually try and carve some pumpkins by myself but they all looked pretty lame
ReplyDeleteAlso your pumpkins look so good it's impressive